Please Make Note: Important Information Inside Every TLC Foot Splint Package
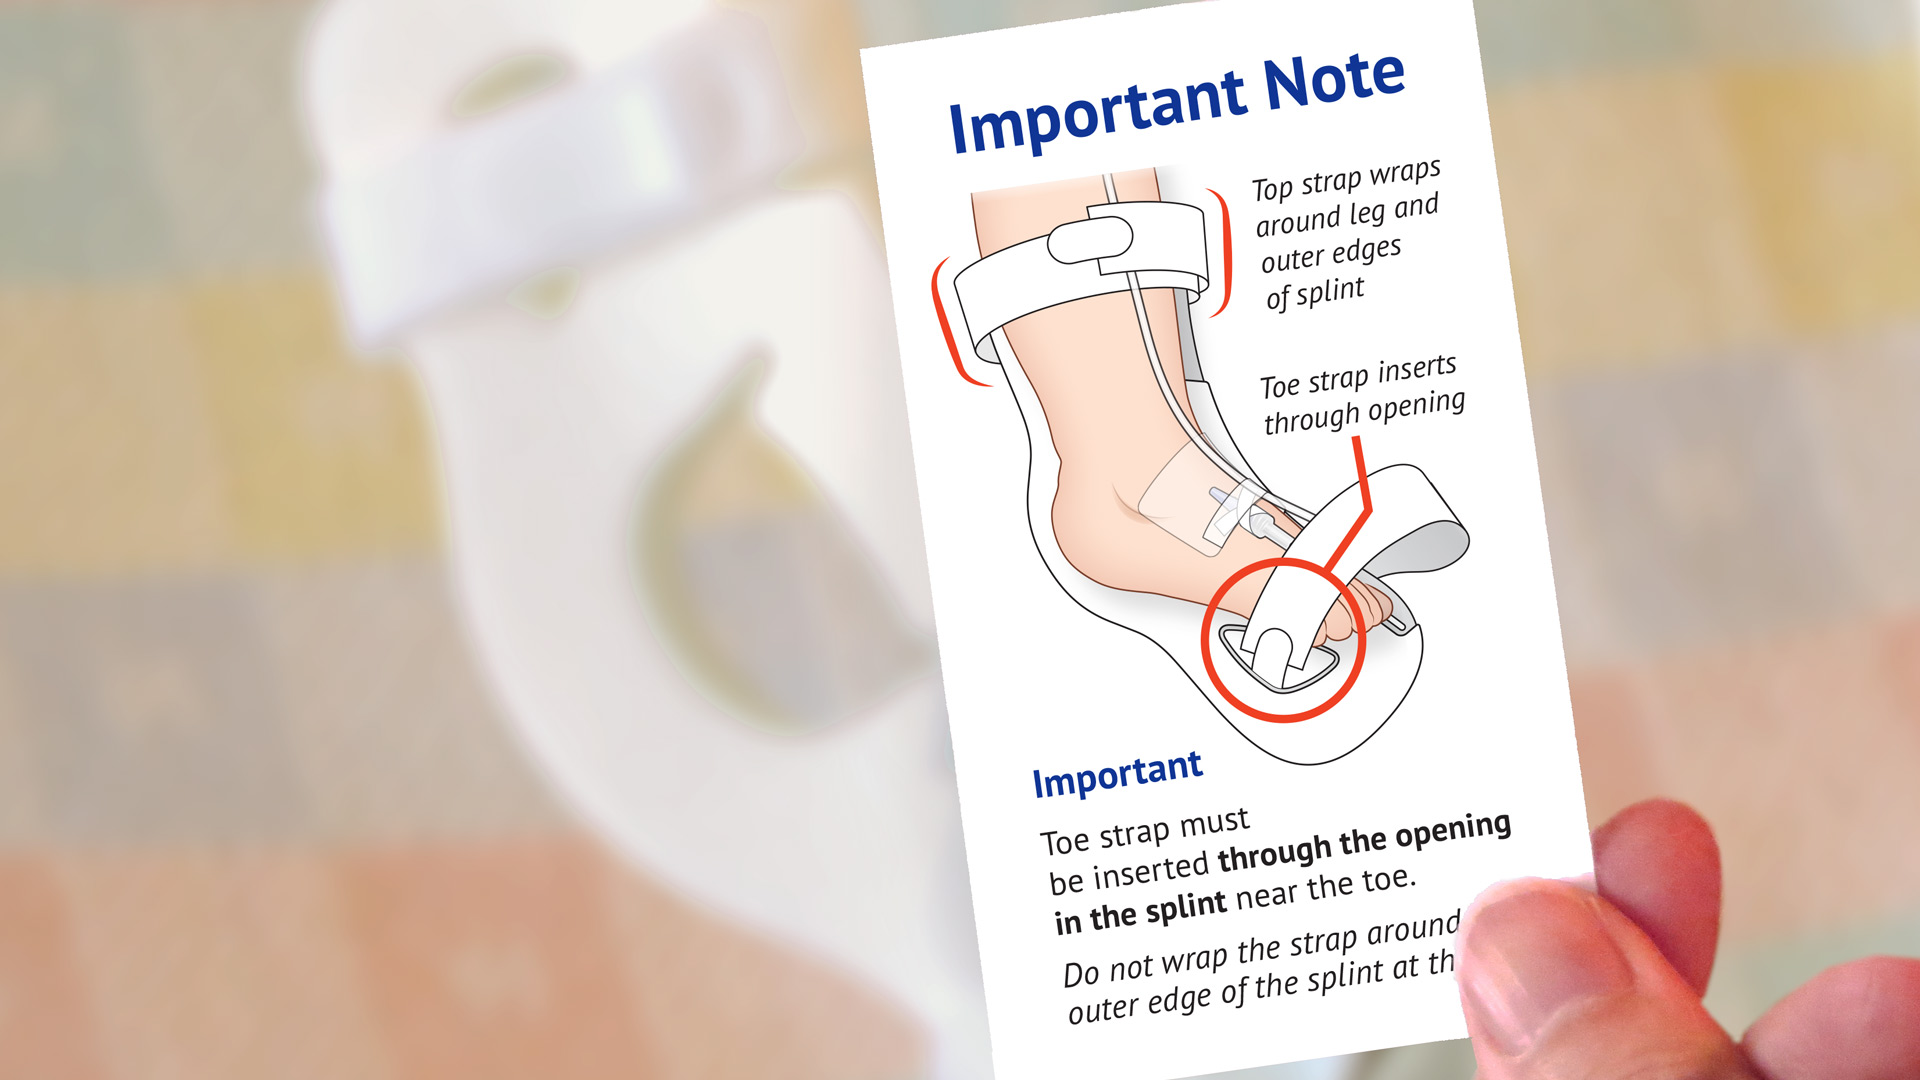
Non-ambulatory infants tend to move and kick their legs around and that can spell trouble if the foot or ankle is used as an IV insertion site. Nurses told us they wanted to be sure they were applying the TLC Foot Splint securely, so we created a Toe Strap Note which outlines proper application of the device.
The insert clearly shows that the key to a secure fit is making sure the strap at the toes is threaded through the opening to anchor the footboard to the patient’s limb. The upper strap wraps all the way around the patient’s leg and the outer edges of the splint to further stabilize the board.
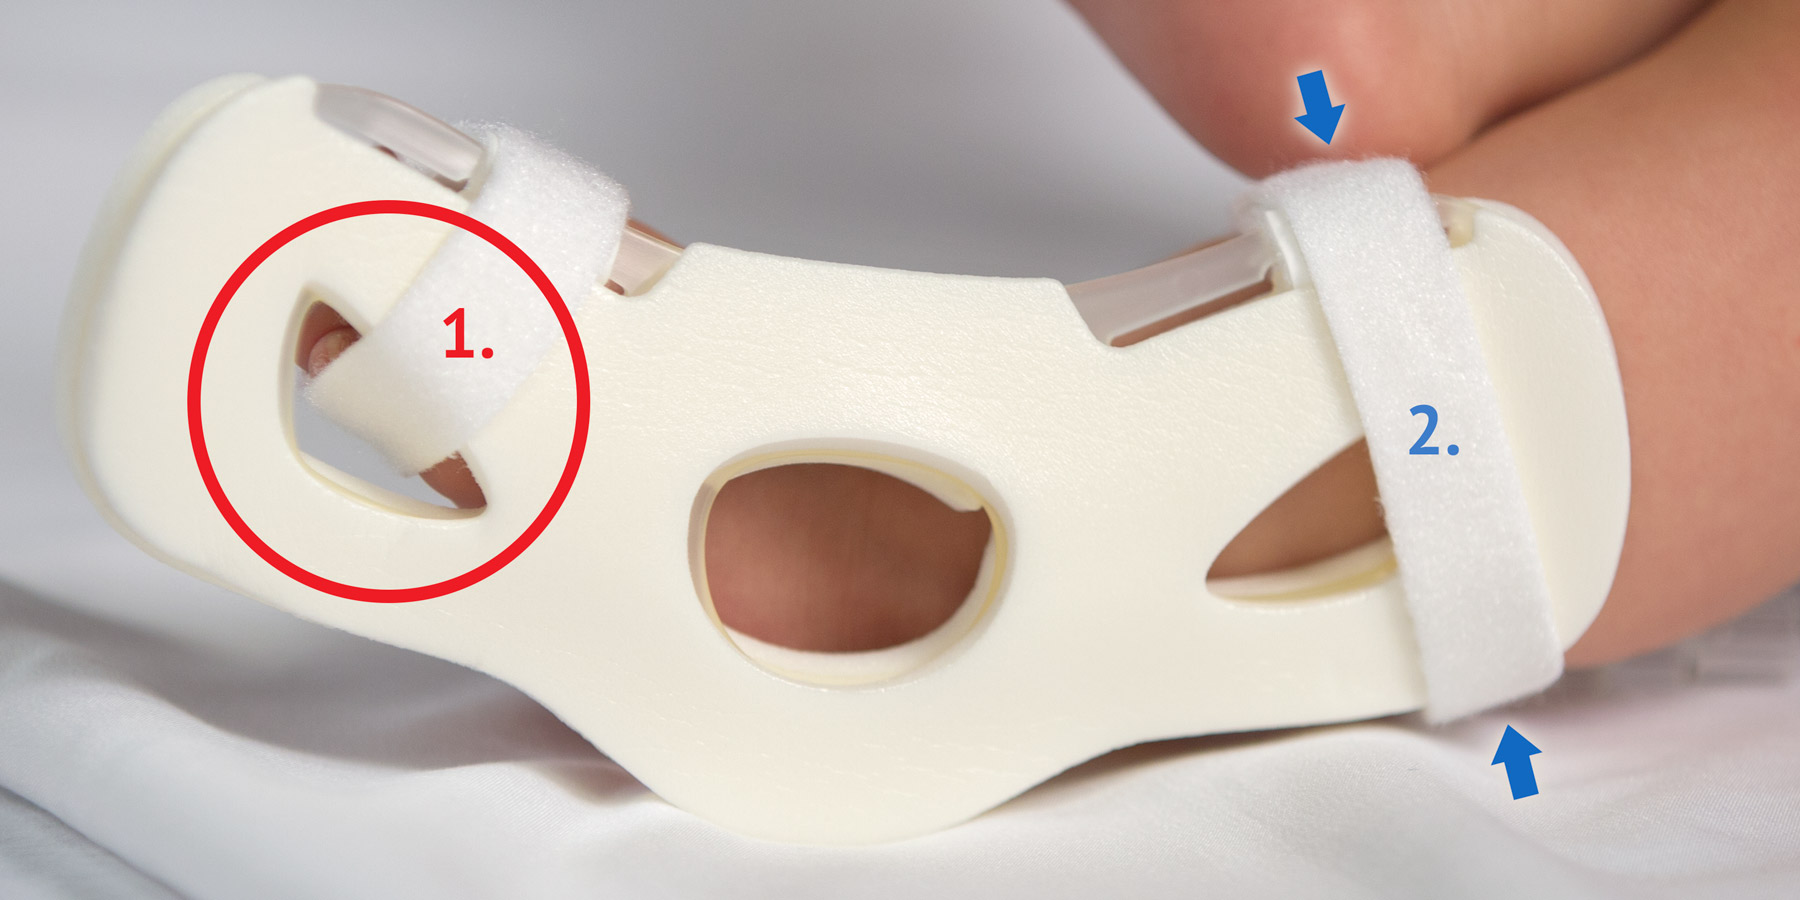
2. The upper strap wraps around the leg and both outer edges of the board to secure the splint in place.
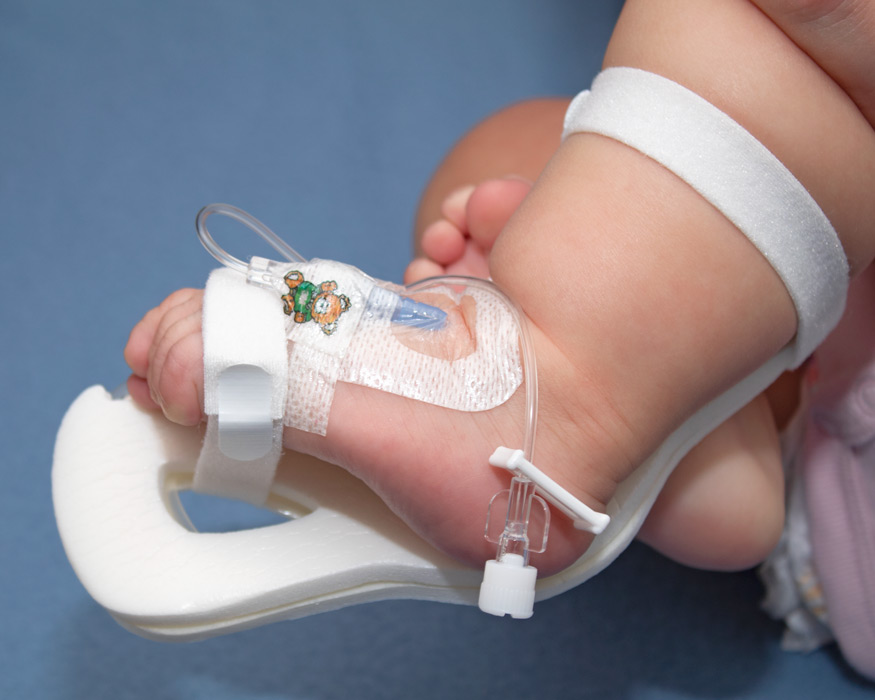
When the TLC Foot Splint is secured properly, the see-through opening at the ankle allows nurses to Touch, Look, and Compare the extremity with the IV catheter to the opposite extremity to help spot early warning signs of complications such as changes in color, temperature, or size.
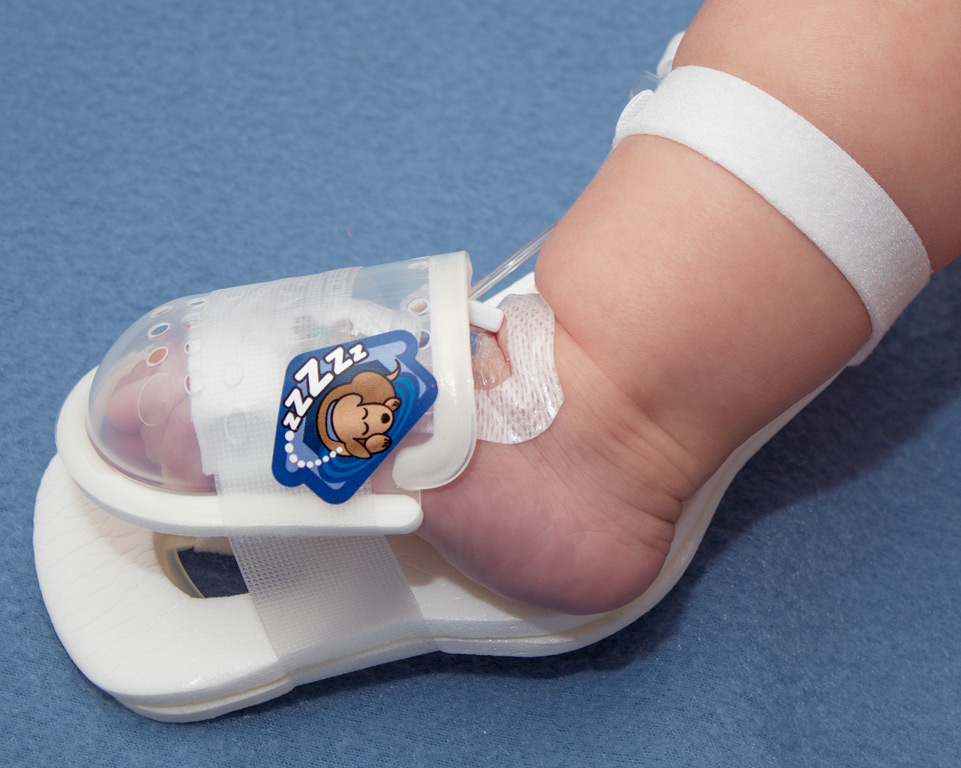
Pair the TLC Foot Splint with an I.V. House UltraDome® or I.V. House UltraDressing® to help further secure the IV insertion site and add extra protection from the bumps and snags that can lead to dislodgment.